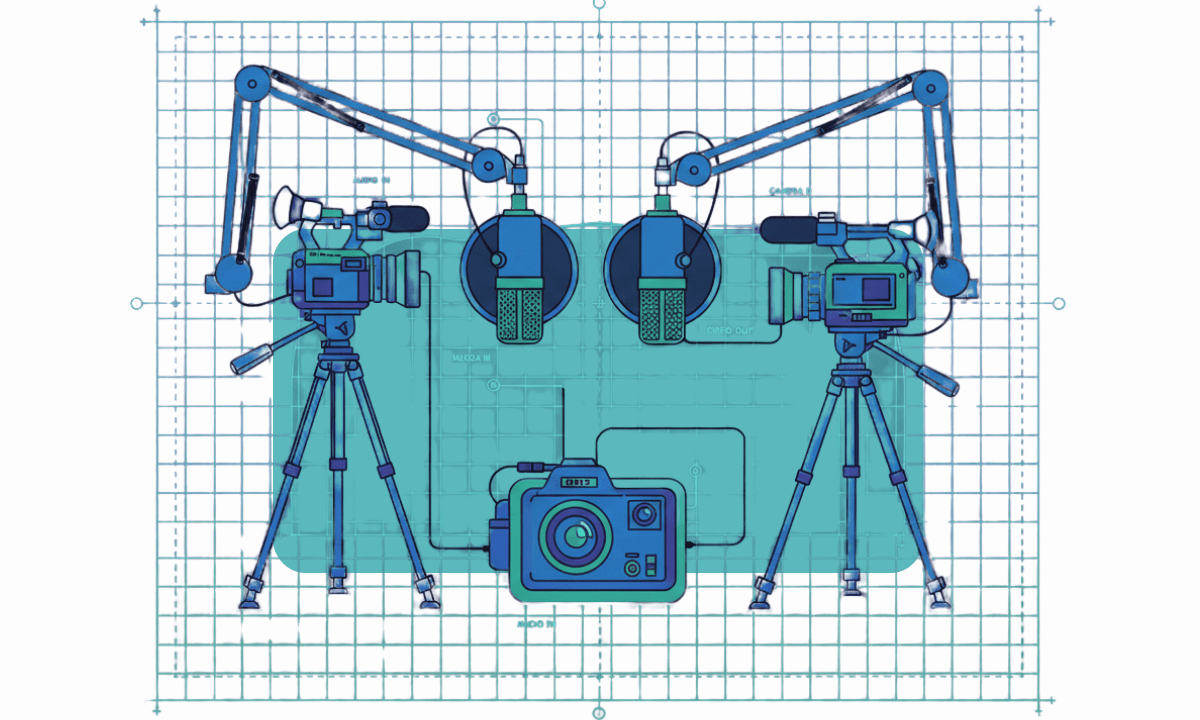
Auto Multicam Editing in Premiere Pro: Switch Cameras & Speakers with AI
Learn how to auto-edit multicam footage in Premiere Pro using AI. Cutback helps you switch angles, split captions by speaker, and cut down on repetitive tasks—perfect for podcasts, interviews, and multi-camera videos.
Editing multicam footage in Adobe Premiere Pro can be a pain. You're juggling angles, syncing audio, manually switching speakers, and trying to avoid jarring cuts. For podcasters, interviewers, and YouTubers working with multiple cameras, it can eat up hours. That’s where Cutback’s Auto Multicam Editor steps in.
Whether you're working on a two-person podcast or a multi-guest panel show, Cutback helps you automatically switch cameras based on who’s speaking, add captions per speaker, and save hours in multicam editing workflows
Here’s how to make the most of it.
Manual Multicam Editing in Premiere Pro
Traditionally, setting up a multicam sequence in Premiere Pro involves several manual steps: first, syncing clips using audio or timecode, then nesting them into a multicam source sequence. From there, editors must toggle the multicam view and manually switch angles in real time as the sequence plays. While this method gives precise control, it’s also repetitive and prone to error, especially when working with long interviews, events, or podcasts. Every camera switch must be timed perfectly, and fixing a mistake often means rewatching large chunks of footage. For editors dealing with multiple angles and hours of content, it’s a tedious process that slows down the entire workflow.
How To Streamline Multicam Editing In Premiere Pro Using Cutback
Step 1: Set Up Your Premiere Pro Timeline
Before you jump into Cutback:
Open a new Premiere Pro project.
Add all camera footage and audio files to your timeline.
Align your clips. Use [Synchronize] to sync your multicam clips by timecode or audio.
Important: Do not use Premiere Pro's default Multi-Camera Source Sequence. Cutback works directly with your regular timeline.
Normalize audio levels and make sure each mic is clean and clearly recorded.
Step 2: Launch Cutback & Open Multicam Editing
Navigate to [Window] > [Extensions] > [Cutback].
Then select Edit multi-cam from the Cutback menu.
Configure Your Analysis Settings:
Range: Choose what part of your timeline to analyze: entire sequence, selected clips, or in/out points.
Language: Select the spoken language.
Speaker Count:
One Person
Multiple Speakers:
If each person has their own mic, choose Audio Separated.
If everyone shares one mic, choose Audio Not Separated.
Add Speaker Names
Assign names per audio track. This allows Cutback to automatically add speaker captions and assign camera angles.
Step 3: Select Video Tracks & Choose Camera Display Settings:
If using Audio Separated:
Assign a video track to each person.
Use the priority slider to choose more individual shots or wide group shots.
If using Audio Not Separated:
Pick the video tracks to use.
Adjust the frequency of switching between them.
Pro tip: You can paste your script or speaker keywords to improve transcription and camera switching.
Click [Transcribe video to edit multi-cam] and let the AI analyze everything.
Step 4: Adjust the Transcript
Once transcription finishes:
Use text-based editing to remove filler words, silence, or repeated takes.
Jump between chapters via the Smart Summary to move quickly.
You can also bulk change camera/speaker assignments:
Select a line
Press 1~9 to assign a camera
Use alt + 1~9 (Windows) or option + 1~9 (Mac) to assign speaker
Fine-tune transitions, adjust segments, and make it all flow.
Step 5: Apply to Sequence
Click [Apply to sequence] and choose:
Create New Sequence (recommended)
Apply to Current Sequence (if you're sure)
Apply:
Trimming edits
Camera switching
Audio switching (only speaker’s mic is audible)
Let Premiere render it all out. Your new multicam edit is ready to review.
Step 6: Add Captions by Speaker
Head over to the Edit Captions tab.
Click Apply to sequence > Add Captions and choose:
Premiere caption track (default)
Split by speaker
Animated captions (graphics layer)
Captions with speaker name
This is a huge timesaver, especially for interview edits.
If you want multiple caption tracks to show at once:
Convert caption layers to graphic titles via Premiere’s [Upgrade Caption to Graphic].
Troubleshooting
Issue: Audio/Video Tracks Don’t Appear
Click [Reload] in Cutback to resync the track list with your timeline.
Issue: Transcription is Inaccurate
Use AAC audio instead of WAV
Check that you're using Premiere Pro 2023+
Test your upload speed (should be 200 Mbps or more)
Slow After Applying Edits?
Cutback creates lots of small clips, which Premiere may struggle to process
Try splitting long sequences into 30-minute chunks
Remove unnecessary effects or unused tracks
Why Use Cutback for Multicam Edits?
Here’s what you save:
Time: Cutback handles syncing, switching, and trimming
Energy: Focus on storytelling, not button-clicking
Clarity: Add speaker-specific captions and audio
Whether you’re editing a remote podcast or a three-camera interview, this is the cleanest way to speed up your workflow.
Final Thoughts
If you’re tired of scrubbing timelines, awkward cuts, and hours of speaker alignment, just open Cutback.
With Auto Multicam Editing, your edit can go from raw to review-ready in minutes.
Want to learn more about Shortform Editing or Script-Based Video Edits? Explore our other guides to level up your workflow.
For more in-depth knowledge about the ins and outs of video editing, check out our latest posts on the Cutback blog or our YouTube channel.

Cutback Team
Share post


