Guide

Add Animated Captions

Benefits of using Cutback's animated captions

  1. Add animated captions in just 2 clicks right in Adobe Premiere Pro.

  2. Choose from various word-for-word, karaoke style, depth effect presets. Easy to customize all settings using Cutback's editor.

  3. Fastest preview and render. Cutback captions use Premiere Pro’s native graphic clips, so it’s super fast to apply and edit.


How to add animated captions to video

Method 1

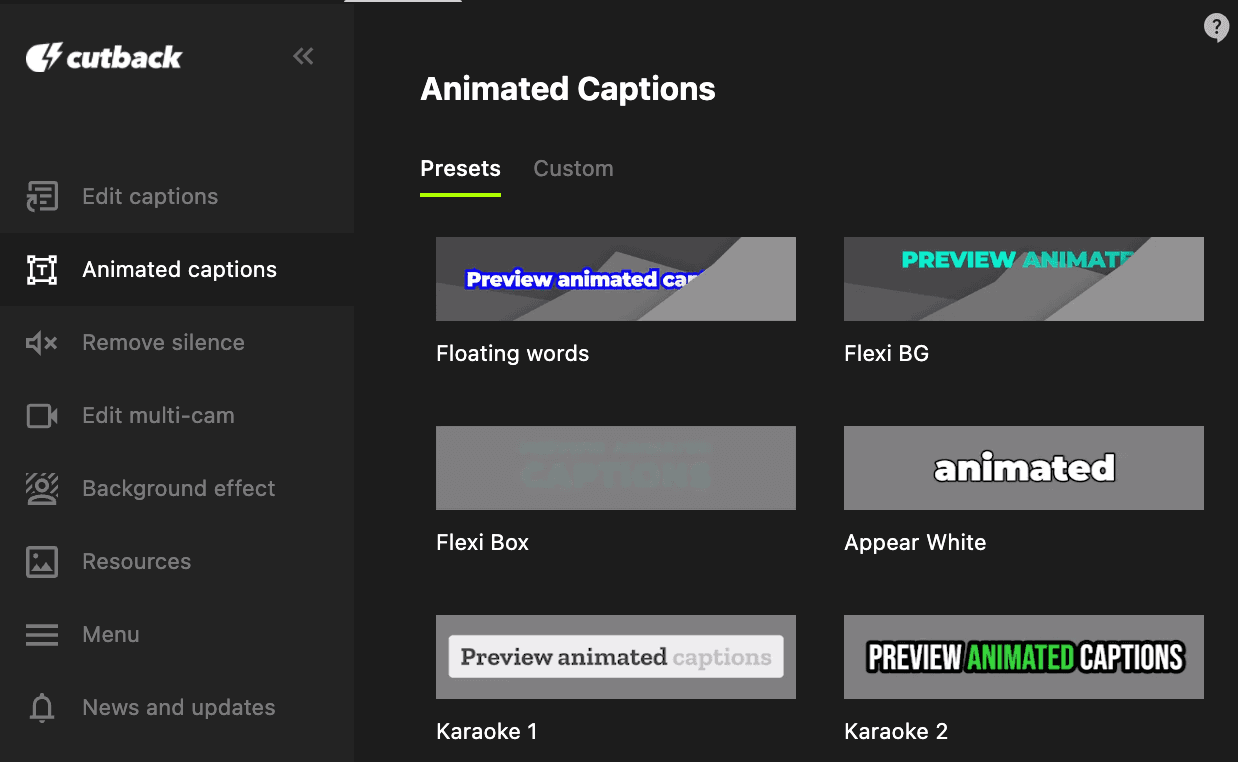
Step 1. Start Cutback and select 'Animated captions'

Screenshot of Animated caption feature in Cutback


Step 2. Select a style from preset or create your own style

Step 3. Wait for the auto-transcription to load (or use the previous transcript)

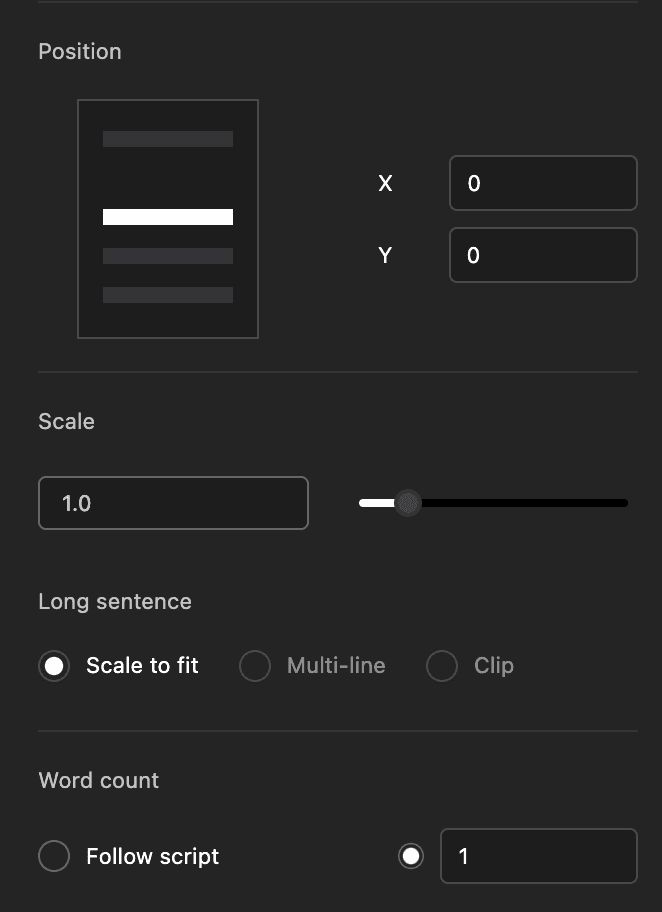
Step 4. Preview and adjust position, size, text length

Screenshot of Animated caption editing in Cutback


Step 5. Apply animated captions to video


Method 2 : Start in the transcript

Step 1. Transcribe video

Step 2. Drag over text and select 'Caption'

Step 3. Apply caption to the selected text. Use this method to apply different caption styles to different parts of the video.


Customizing animated captions

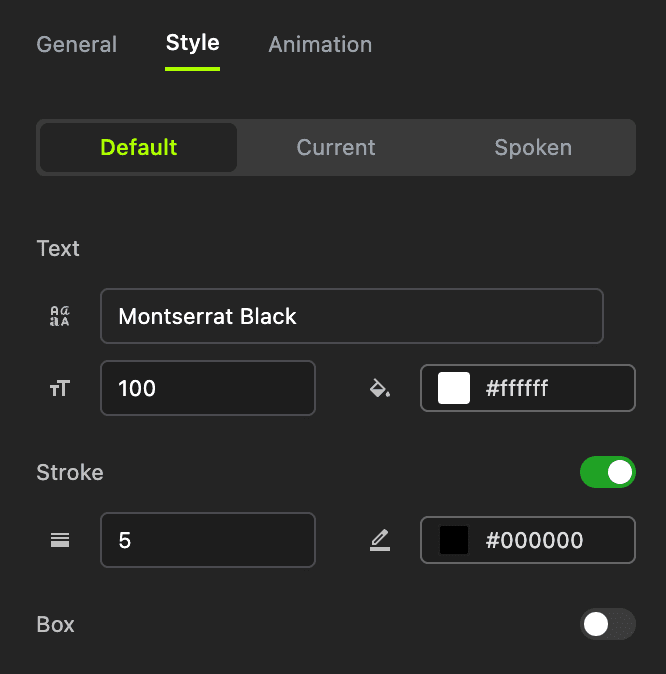
To further customize animated captions to match your branding, or add more animation to make your video exciting, to go the 'Style' and 'Animation' tabs by clicking the menu at the top in the side panel.

Screenshot of Animated caption styling in Cutback
  • Default style - the base style

  • Current style - the style for the current word that is being spoken

  • Spoken style - the style for the words that have been spoken


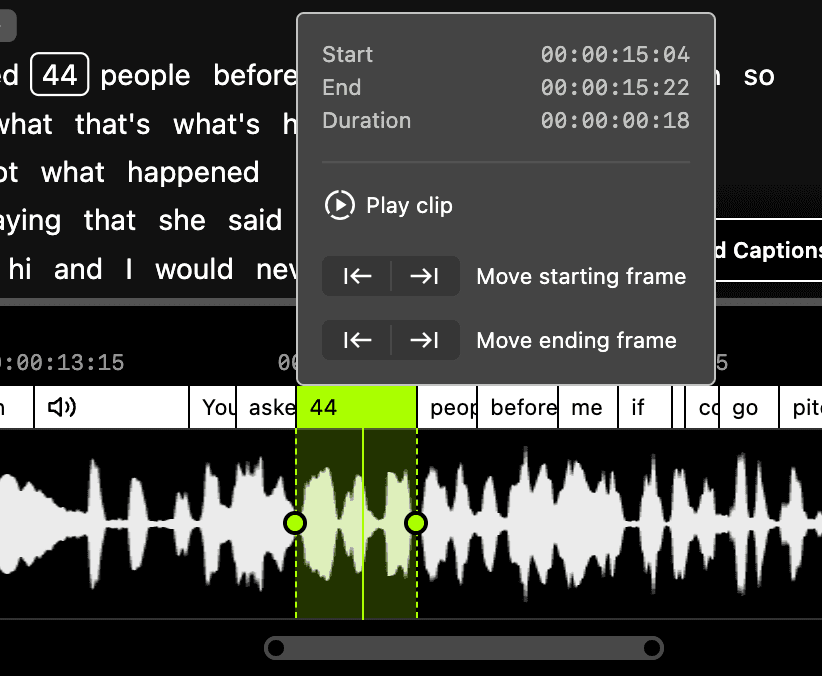
Changing timestamp

You can adjust the timestamp detail with the timeline in the below.

Screenshot of adjusting caption timeline in Cutback


Advanced tips

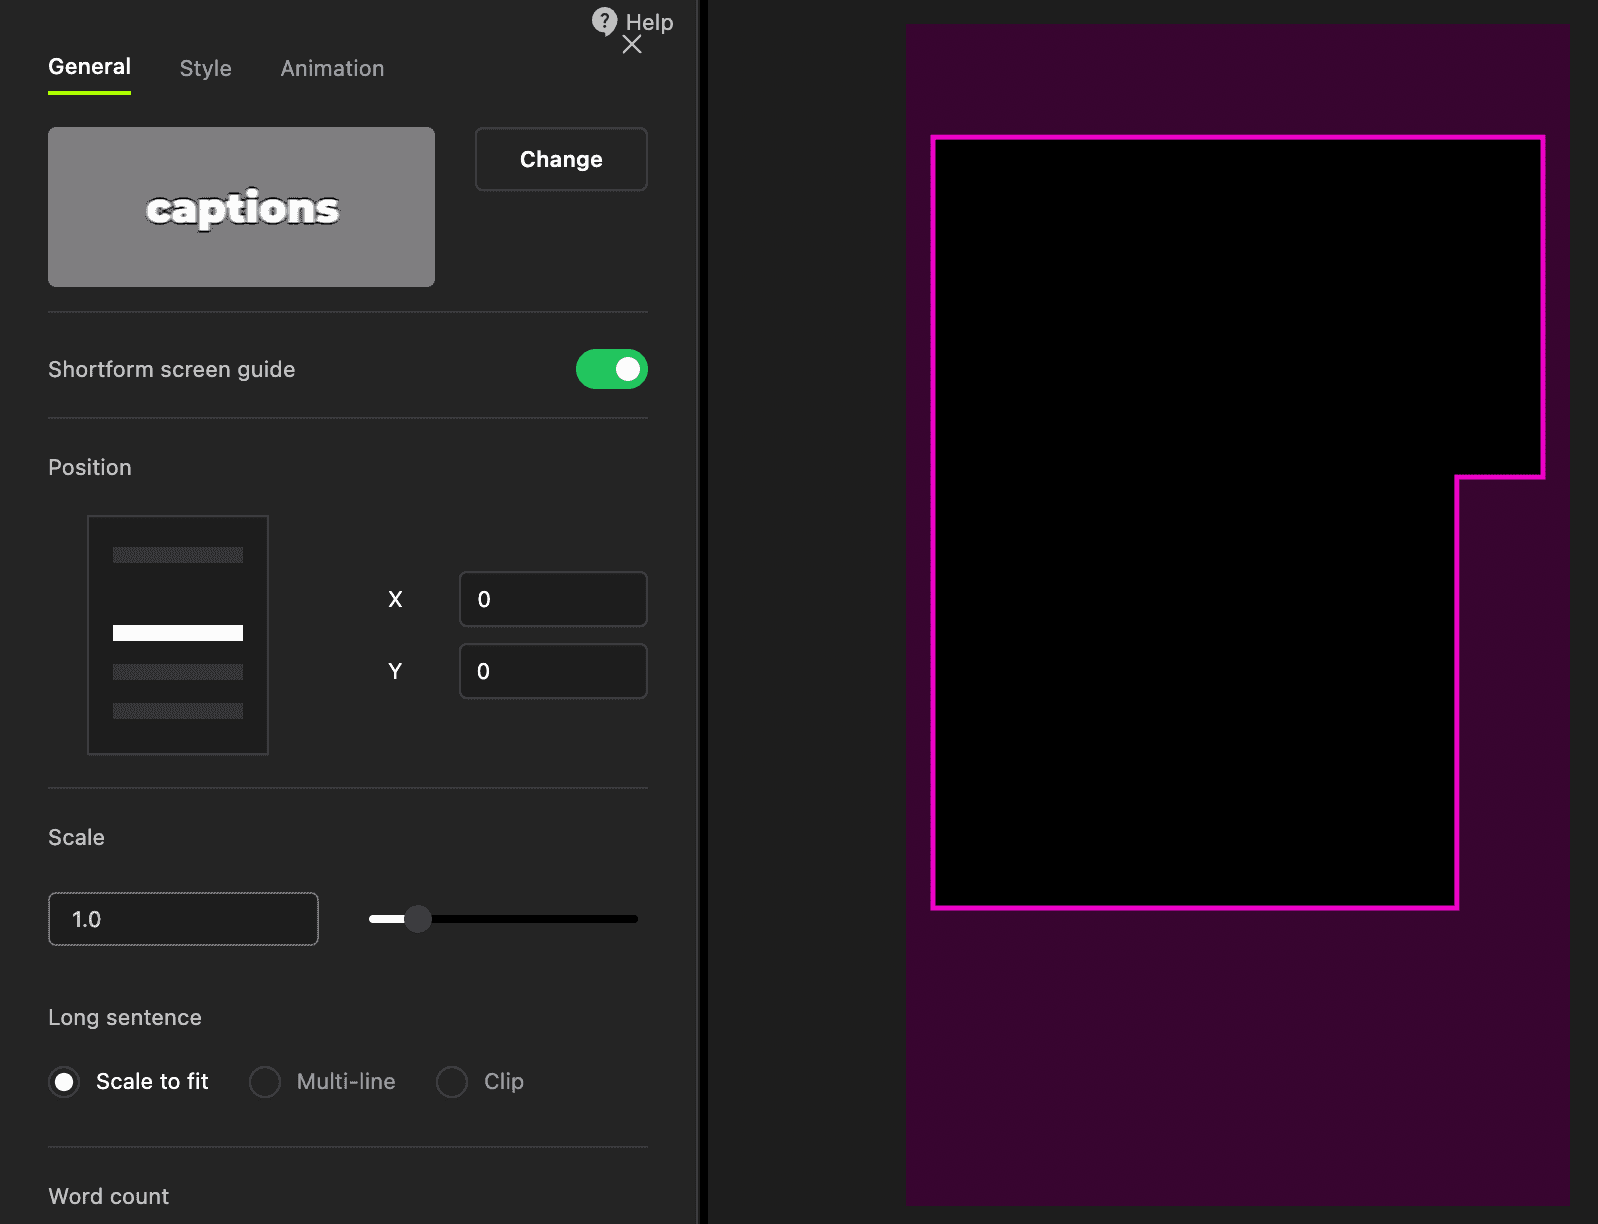
You can turn on the “Shortform screen guide” to see if any buttons will cover your video when it’s uploaded.

Screenshot of shortform guide in Cutback