Stop Premiere Pro’s Timeline from Snapping to the Playhead – Easy Fix!
Tired of your timeline snapping to the playhead in Premiere Pro? Learn how to disable timeline scrolling and keep your edits in place.

TLDR: Timeline snapping in Premiere Pro is toggled with the S key; press it once to disable snapping when you need precise placement, and again to re-enable it for standard editing.
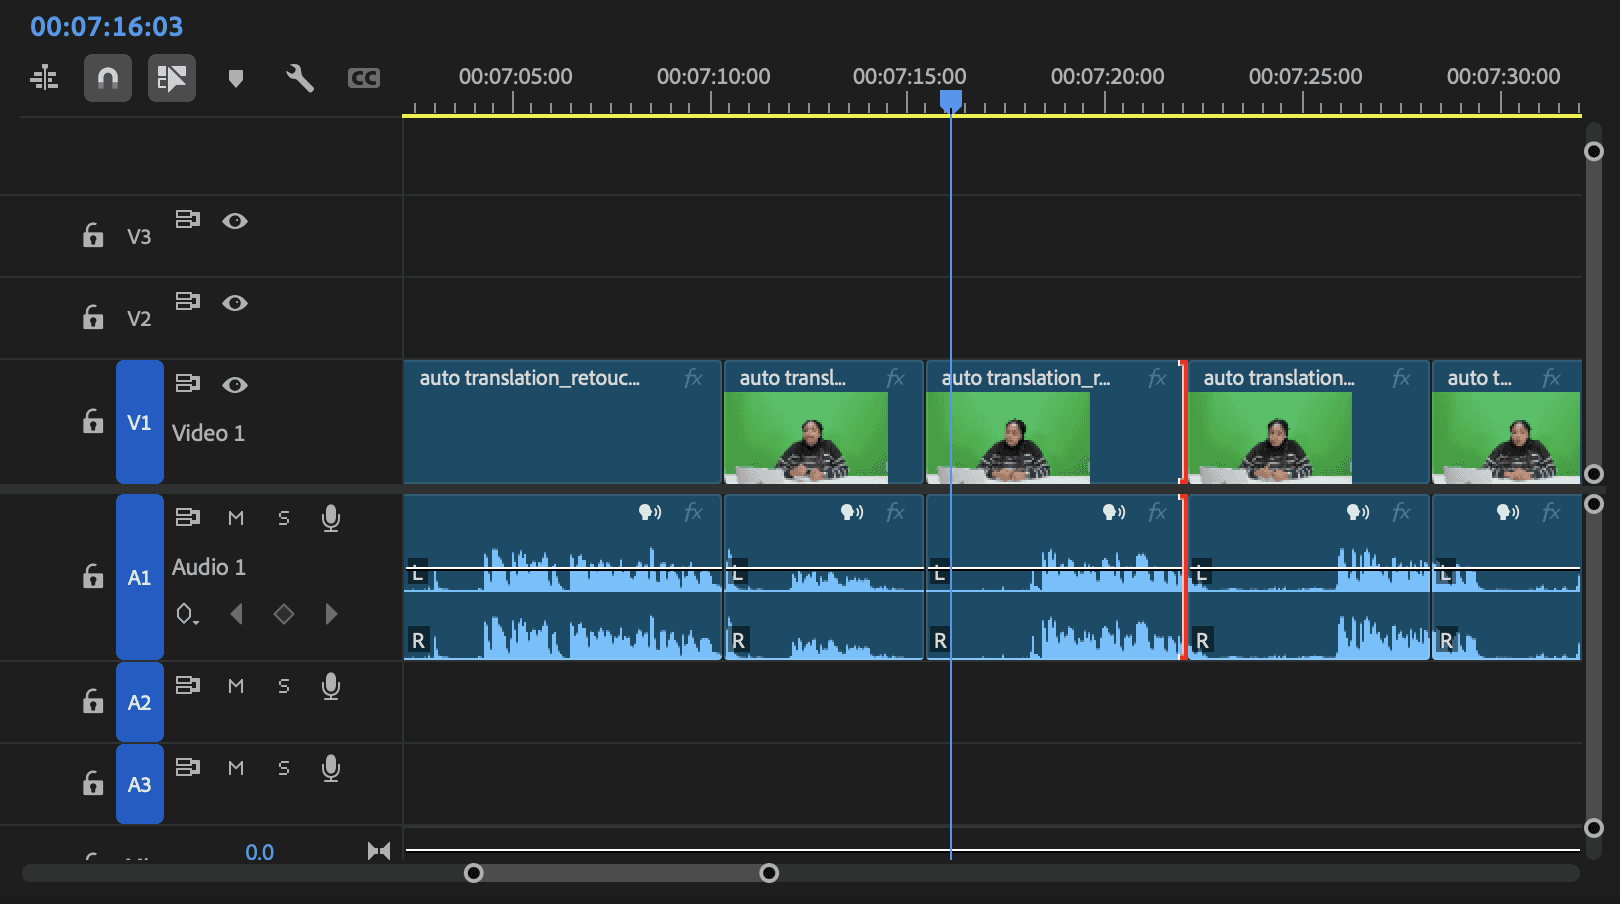
Nothing is more frustrating than editing in Premiere Pro and finding that your timeline constantly snaps to the playhead when you hit play. This can especially be inconvenient when you’re trying to maintain control over your workspace. Luckily, we’ve got a simple fix for you today! Here’s how to turn off the timeline snapping to the playhead in Premiere Pro.
Why Does the Timeline Snap to the Playhead?
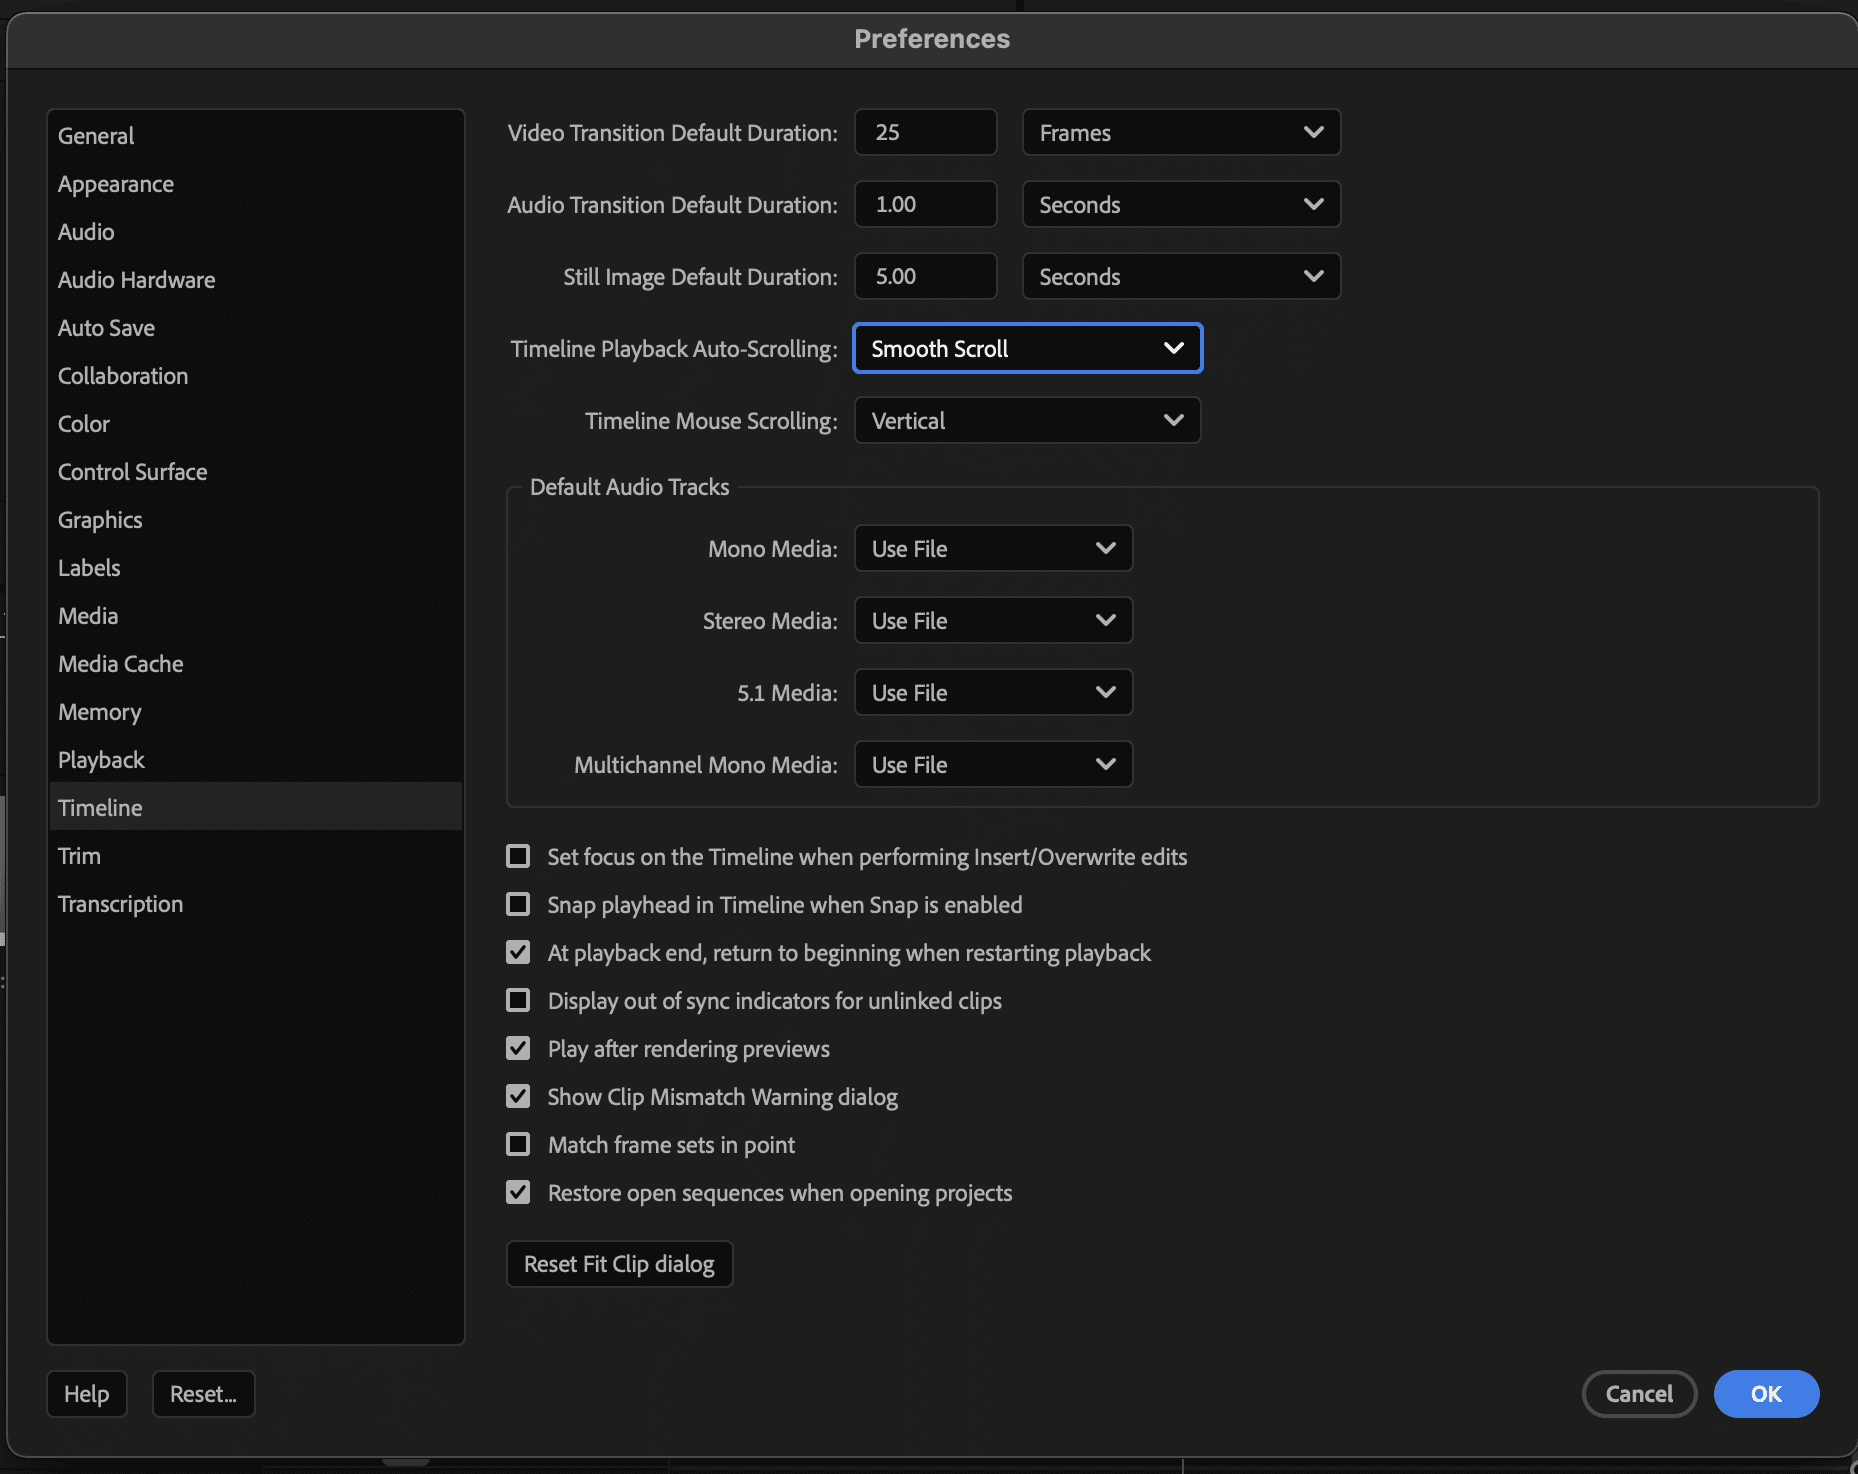
Premiere Pro’s default setting is set so that the timeline automatically moves to keep the playhead visible. This happens due to the scrolling settings under Preferences > Timeline, which determine how the timeline will act when you playback your sequence.
How to Disable Timeline Snapping to the Playhead
If you want to stop the timeline from moving when you press play, follow these steps:
Go to the Preferences menu
Open Premiere Pro
Click on Edit (Windows) / Premiere Pro (Mac) > Preferences > Timeline
Change the Scrolling Behavior
Look for the option labeled [Timeline Playback Scrolling]
If it’s set to [Smooth Scroll] or [Page Scroll], this is why your timeline is shifting when you hit play.
Change the setting to [No Scroll]
Apply Changes and Test
Click [OK] to save your preferences
Play your timeline and see if the snapping behavior has stopped
By disabling scrolling, your timeline will remain fixed in place while playback continues, giving you full control over your editing workspace.
Alternative Fix: Adjusting Sequence Settings in Premiere Pro
You might notice that sequence settings may also influence this behavior. If you’re still experiencing snapping, try creating a new sequence and pasting your clips into it. This can help reset timeline behavior, as well.
Regain control over your editing experience in Premiere Pro by following these steps, and make sure to check out our technical video editing guide for more helpful troubleshooting hacks. For more fixes to Premiere Pro timeline issues, stay tuned to our blog.
For more Premiere Pro editing tips and tricks, explore our latest content on the Cutback blog or Cutback’s official YouTube channel.
Frequently Asked Questions (FAQs)
Q: How do I turn off timeline snapping to the playhead in Premiere Pro?
A: This is controlled by the Timeline Playback Scrolling setting, not the S key snap toggle. Go to Edit (Windows) or Premiere Pro (Mac) > Preferences > Timeline, find Timeline Playback Scrolling, and change it from Smooth Scroll or Page Scroll to No Scroll. Click OK and play your timeline; it will now stay fixed in place rather than following the playhead during playback.
Q: How do I turn snapping on or off in Premiere Pro?
A: Press S on your keyboard to toggle clip snapping on and off. When snapping is enabled, clips and the playhead will magnetically align to edit points, clip boundaries, markers, and the playhead position when you drag them close together. Pressing S again disables it for freeform placement. This is separate from Timeline Playback Scrolling, which controls whether the timeline view follows the playhead during playback rather than whether clips snap to each other.
Q: Why is my timeline not snapping in Premiere Pro?
A: The most common cause is that snapping has been accidentally toggled off with the S key. Press S once to re-enable it and check whether the snap icon in the top-left corner of the timeline panel is active (highlighted). If snapping is enabled but clips still are not aligning, check that the snap point you expect to snap to, a marker, edit point, or clip boundary, is actually visible in your current timeline zoom level. Snapping only triggers when drag targets are visually close on screen.
Q: What is the difference between timeline snapping and timeline scrolling in Premiere Pro?
A: These are two separate settings that are frequently confused. Timeline snapping (toggled with S) controls whether clips, the playhead, and markers magnetically align to each other when dragged. Timeline scrolling (set in Preferences > Timeline > Timeline Playback Scrolling) controls whether the timeline view moves to follow the playhead during playback. Turning off snapping stops clips from jumping to align points; turning off scrolling stops the timeline view from jumping when you press play. Both can be independently enabled or disabled.
Q: How do I remove gaps between clips in Premiere Pro?
A: Right-click on any gap in your timeline and select Ripple Delete to close it. This removes the gap and shifts everything downstream to fill the space. To remove all gaps at once, go to Sequence > Close Gap. If you want to prevent gaps from appearing when you cut and delete clips, use Ripple Delete (Shift + Delete) instead of standard Delete when removing clips, which shifts downstream content automatically rather than leaving a gap in place.
Q: Does Premiere Pro have a magnetic timeline like Final Cut Pro?
A: No. Premiere Pro does not have a magnetic timeline. Final Cut Pro's magnetic timeline automatically shifts clips to fill gaps and avoid collisions when you move or delete content. Premiere Pro uses a traditional track-based timeline where clips stay in fixed positions unless you explicitly move them. The closest Premiere Pro equivalent is using Ripple Delete to close gaps, and clip snapping to align edits, but neither replicates the fully automatic flow of FCP's magnetic timeline.
Q: What is linked selection in Premiere Pro, and how does it affect snapping?
A: Linked selection controls whether clicking a clip also selects its linked audio or video counterpart. When linked selection is on (the default), dragging a video clip also moves its linked audio, which means both snap together as a unit. If you turn linked selection off (via the button in the timeline panel header), video and audio can be moved and snapped independently. For precision editing where you need to offset audio from its video track, temporarily disabling linked selection gives you independent control over each component's snap behaviour.

Kay Sesoko
Marketer
Share post


